Picture Manager (Inventory) |
  
|
Picture Manager (Inventory) |
|
Every inventory item can have a picture assigned to it.
This image can be imported and modified. It can be uploaded to your web site. It can be viewed by the customer if you are using Multi-Monitor Support or by the cashier while on an invoice or from a number of other screens such as the Purchase Order screen.
Images added to an inventory item are automatically saved in the SQL data files.
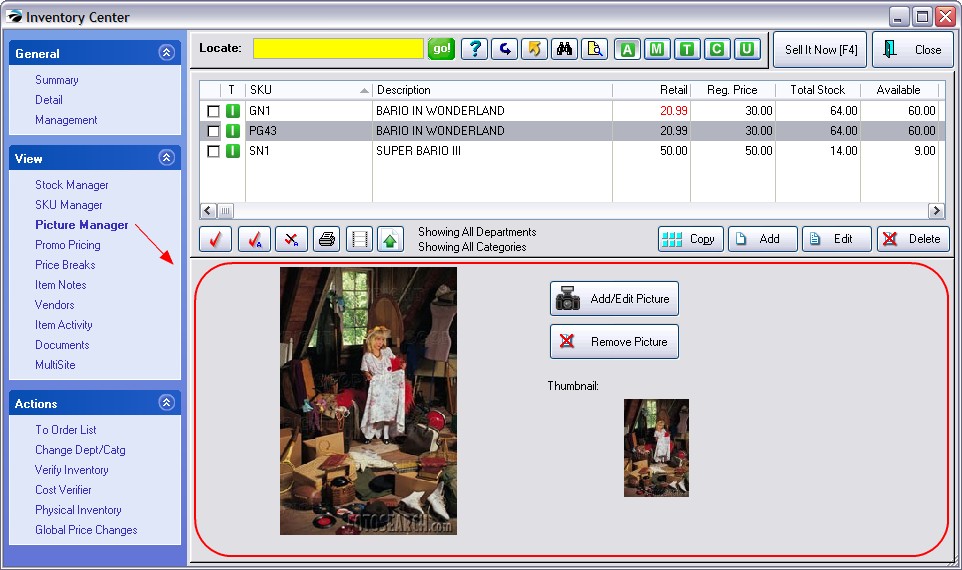
(A) To add a picture to an inventory item, you can either:
Drag & Drop which means that if you can see the image on another window, perhaps the manufacturer's web site, you can click on that image and drag it into POSitive. (Drop the image in the area which says: "Drag & Drop....to assign pictures.")
Add/Edit Picture opens the Image Editor allowing you to load an existing picture.
A thumbnail of the image should be generated automatically and will appear in the box titled "Thumbnail:" Click on this button only if the thumbnail image is not visible or is distorted.
In addition to seeing the image twice on this screen, you can view the image in a window by itself for more detail.
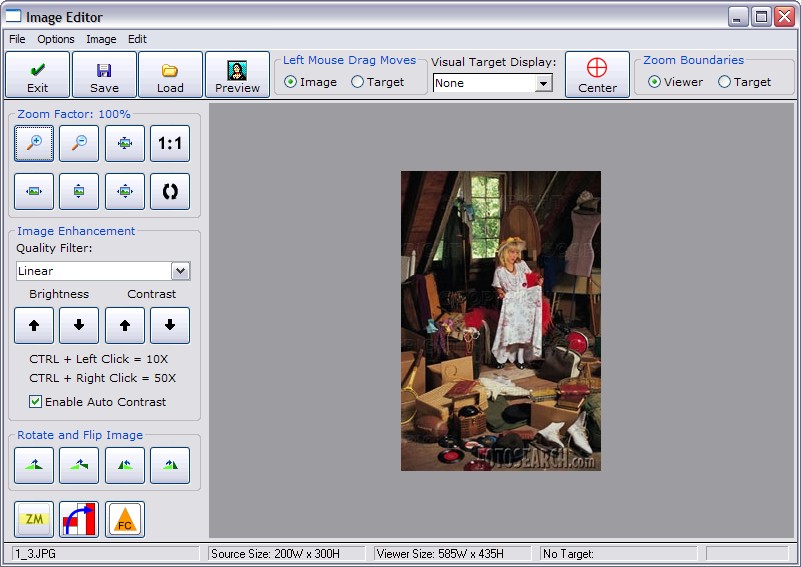
EDIT PICTURE These tools affect the display of the main image.
•Original size
•Zoom in
•Zoom out
•Best fit
•Fit width
•Fit height
•(and more)