Navigation:  Key Concepts > E-Commerce >

Internet Inventory

Previous pageReturn to chapter overviewNext page

Descriptions, Menus and Categories

Your POSitive software product organizes inventory products by department and category, and your inventory products will typically be displayed on your website in the same manner.  However, there are some features that your POSitive software product uses that will provide more flexibility in the way your products are displayed in Magento.  Here is a list of the most notable features:

1)Different (longer) Web Description for departments and categories
a.Departments:
i.Maintenance tab > Departments > edit department > POSitive Commerce tab
b.Categories:
i.Maintenance tab > Categories > edit category > View > POSitive Commerce
c.If you do not use this field for each dept/catg make sure your department and category names are entered in your POSitive software product as you would like your customers to see them
d.(Department and Category images support is not yet available)


2)Top-Level Category (Maintenance tab > Departments > edit department > POSitive Commerce tab)
a.Group departments by entering the same description the Top-Level Categories field.  Your website’s dept/catg menu will display Top-Level Category > Department > Category (e.g. Electronics > Home Audio > Sound Bars, or Electronics > Home Video > TVs
b.In the example above:
i.Electronics = Top-Level Group
1.Home Audio = Department
a.Sound Bars = Category
ii.Electronics = Top-Level Group
1.Home Video = Department
a.TVs = Category


3)Additional Categories
a.This feature only affects which additional categories products will be displayed in Magento, not your POSitive software product
b.In POSitive go to the E-Commerce tab > Web Store Inventory > highlight an item > View > Categories
c.Your product will display in each additional category you add to this list


Prepare Your Inventory
 

Go to the E-Commerce tab > Web Store Inventory > Web Info menu option under View on the left.  This is where you control which inventory items appear on the web site.  Depending on your category defaults, you may already have items on the Web Store Inventory list.  The Post To Internet option can be turned on for items in your Inventory Center that you wish to sell on the web.  This can be set for individual items or be part of your category default settings.  Talk to your dealer or POSitive support if you need assistance with setting up your inventory.

The following is a list of recommendations that that each inventory item should contain:

1)Description
2)Price
3)Image of inventory item
4)Standard Description (This is a product summary that is seen when looking at items in a category - max 110 characters)
5)Extended Description (This is detailed information about a product which can also contain HTML. Be sure to remove all un-encoded special characters - max 10,000 characters)
a.Learn more about special characters in HTML:
http://www.techrepublic.com/article/using-special-characters-in-html/


Recommended Inventory Image Thumbnail Size
 

When you upload your Web Store Inventory Magento will automatically create new product thumbnail images based on the existing product thumbnail images in your POSitive software product.  The dimensions of the product thumbnail images that Magento generates are hardcoded in Magento.  You can learn more about Magento product thumbnail image types and sizes here:

http://www.magentocommerce.com/knowledge-base/entry/image-type-and-size

Some Magento themes use large product image thumbnails.  In order to ensure that your product thumbnail images display properly on your website it is recommended that you set your Thumbnail Size in your POSitive software product to a higher number than the default value.  Typically a minimum of value of 200 x 200 would suffice, however some Magento themes use even larger product thumbnail images so you would need to adjust your Thumbnail Size values accordingly.  If you have already added product images you may need to resize all of your existing product thumbnail images.

Here are the steps to resize all thumbnail images:

1)Backup your POSitive SQL database, because you are about to delete all product images by exporting them and then re-importing them back in
2)In your POSitive software product go to the Maintenance tab > System Setup > Inventory > General tab to change the default Thumbnail Size (Recommended minimum size for Magento websites is Height=200 x Width=200, but you can go larger depending on your Magento theme) > Click OK to save.


3)Now, go to the E-Commerce tab > Web Store Setup > Image Manager menu option under View on the left


Place a check next to Remove Images from Database when Exporting (Be sure to have a recent backup of your database on hand just in case)

4)Click the Export button and choose a folder to save your current images from your POSitive software product (e.g. C:\Temp)
5)In Windows, locate and open the folder you chose to export your images to.  Now open the “Online” folder (e.g. C:\Temp\Online) and delete all of the image files with the word “thumbnail” in it. (e.g. 'L237401_THUMBNAIL.JPG')
6)Back on the Image Manager screen click on Import Images
7)Choose the "Online" folder that is inside of the folder you just exported the images to, which is the same folder you just removed the thumbnail images from, and click OK. Your thumbnails in your POSitive software product have just been resized.

Add Internet Inventory
 

Items may be added to the Internet Inventory List individually by clicking on Add To List.  Alternatively you can add entire departments, categories or all items by clicking on the E-Commerce tab > Web Store Inventory > Import Items menu option under Actions on the left.  Don’t overwhelm yourself if you have hundreds or thousands of items you wish to sell online.  Start with your best sellers and build up your web inventory as time allows.

Add or Edit Product Images

Go to the E-Commerce tab > Web Store Inventory > Image Manager menu option under View on the left to view, add or edit product images.  A simple image editor is built into your POSitive software product.  POSitive products have a primary image size limitation of 533 x 400 pixels.

Select Items to Upload

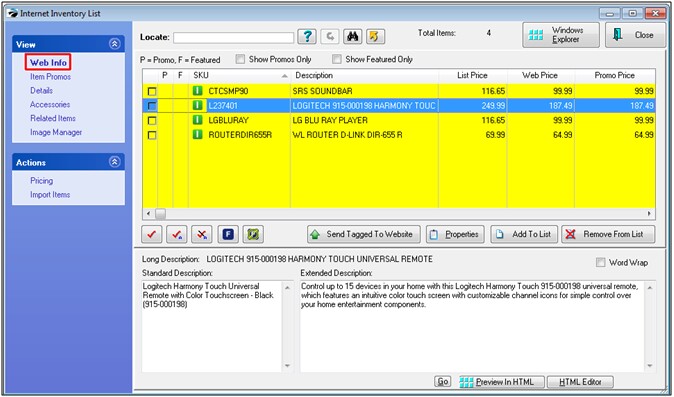
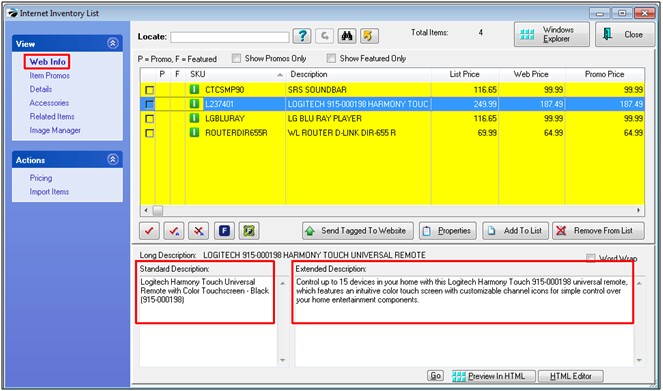
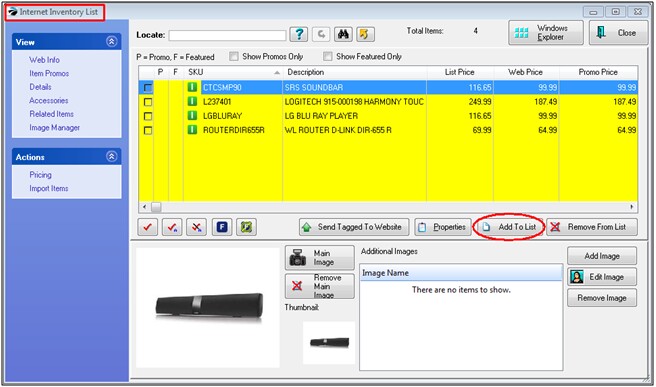
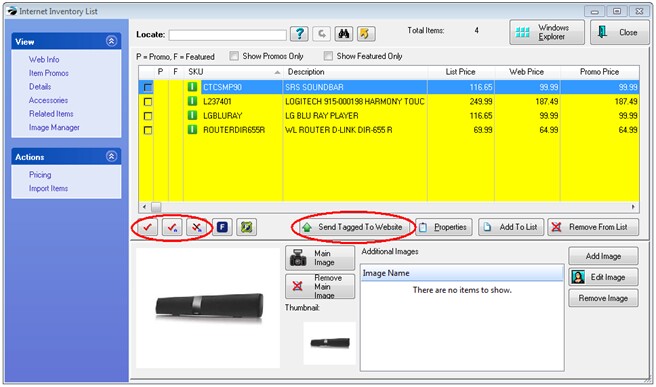
Once you have your initial inventory ready, it’s time to do your initial upload.  Go to the E-Commerce tab > Web Store Inventory.  Use the red check buttons to tag or untag the items to be uploaded and then click on Send Tagged To Web Site.

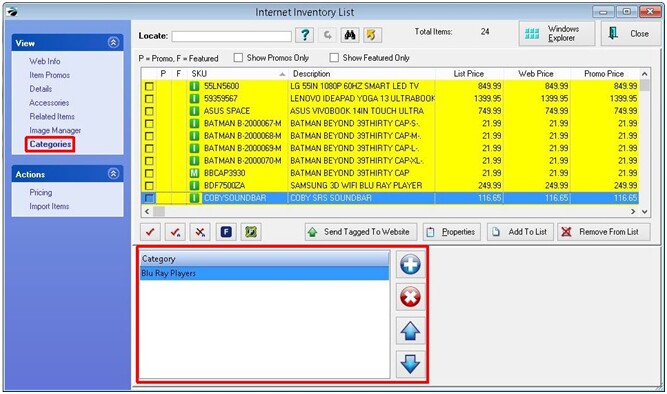
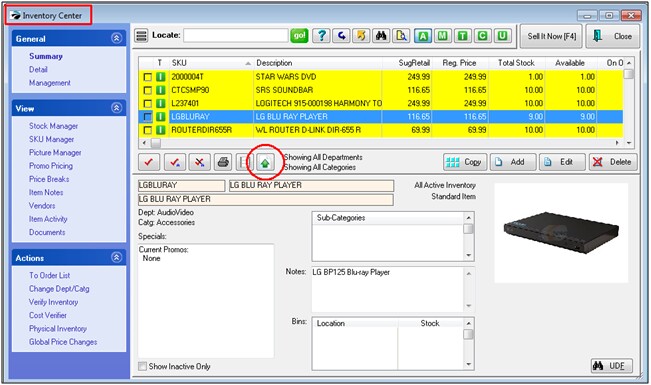
You can also upload items or put them on the upload list right from the Inventory Center (Transactions tab > Inventory).  Simply highlight an item and click on the green arrow below the Description column.

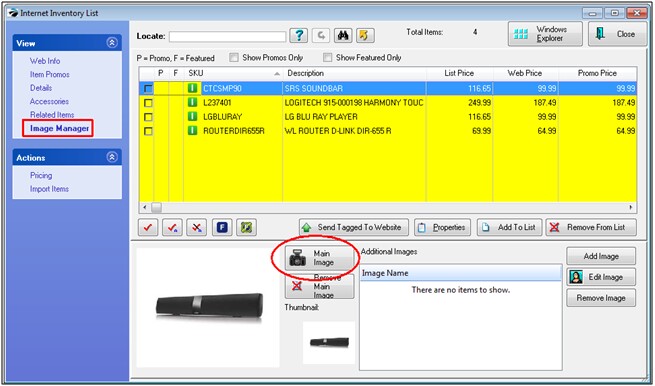
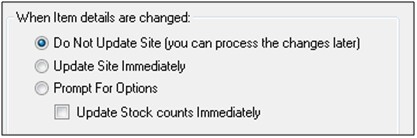
Depending on your settings in the E-Commerce tab > Web Store Setup > Monitor Options > When Item details are changed section, items will either be placed on the E-Commerce tab > Send To Web Store > Items waiting to be uploaded to website list, sent to the site immediately or you will be prompted to choose an option. In this example, we will upload to the site manually.

Manually Upload Web Store Inventory
 

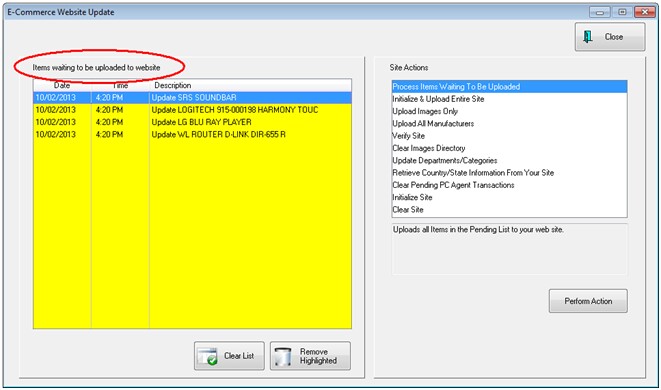
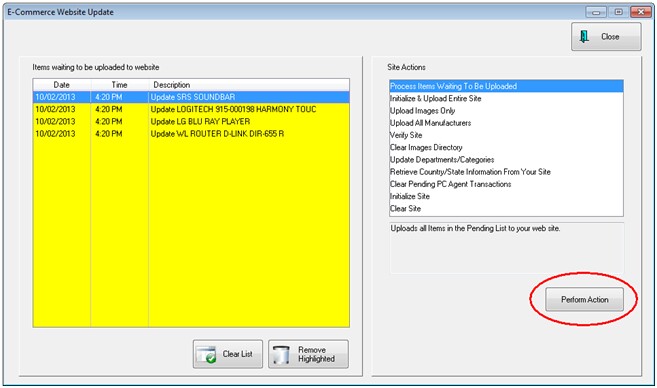
Go to the E-Commerce tab > Send To Web Store.  Currently, the only Magento supported Site Actions options are Process Items Waiting To Be Uploaded and Clear Pending PC Agent Transactions. All other actions in the list are not supported at this time and are only used for POSitive Commerce for Joomla 1.5.x/VirtueMart 1.1.x (Since we are using the open-source Magmi Mass Importer database client to import inventory items and images, we are somewhat limited by its functionality.  However, as mentioned previously, additional features may be added in the future).

After you press the Perform Action button on the E-Commerce Website Update screen the PCLink desktop application connects to the Magmi Mass Importer, which should already be installed into the root directory of your website.  Once the upload has completed PCLink calls the pcindexer.php file in the root Magento installation to re-index the uploaded items.