Some reports will ask if you want to print the report using the current view format.
If YES, then you are prompted to Define the Layout.
Defining the report consists of four major steps as outlined here.
COLUMN LAYOUT
Available information is listed on the left. Choose the information you want included in the report by highlighting and "adding" or "removing" field names.
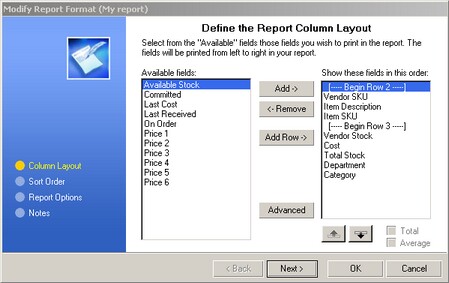
The Add Row button allows you to piggy back information in multiple rows.
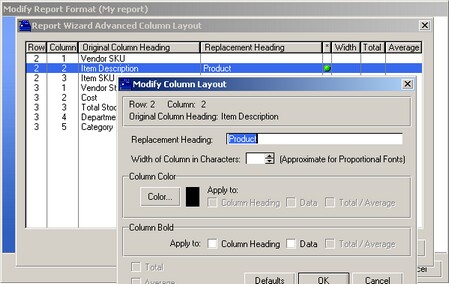
The Advanced button allows for renaming the title and re-defining colors and fonts.
SORT ORDER
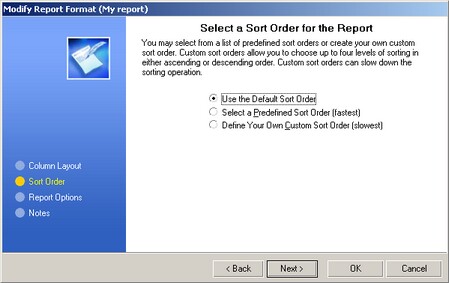
Data will be sorted in the report automatically. You may choose to define your own sort ordering.
GROUPING OPTIONS
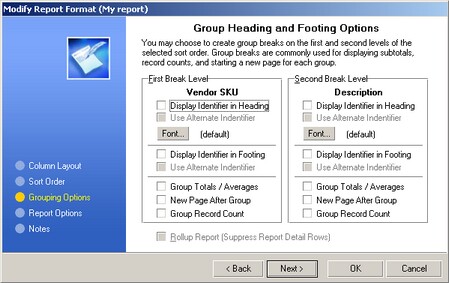
This option appears if you have chosen "Define Your Own Custom Sort Order" described above. Group breaks for first and second levels are commonly used to subtotal and start a new page for groups or records.
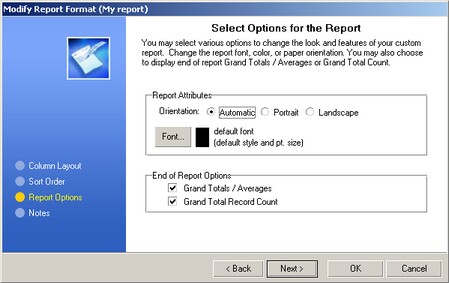
REPORT OPTIONS
The report can be oriented to best use the space and display the data. The coloring and size of fonts can be controlled. When reporting on data values, some values can be counted, totalled, or averaged.
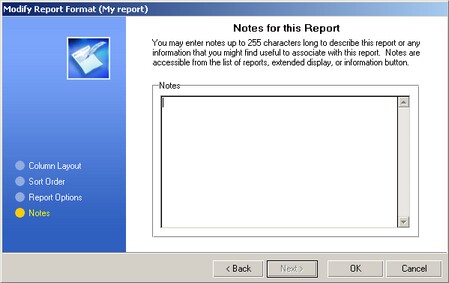
NOTES
(As of this writing, this is a non-supported feature.)
Choose OK to finish and save the report.
MODIFYING REPORTS
Once a report has been created it can be modified or used as the basis of a new report.
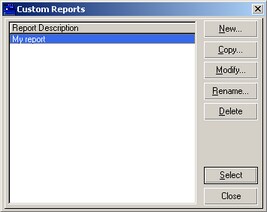
New - Creates a new report
Copy - Makes a copy of an existing report and allows for changes and save as a new report
Modify - Edits an existing report
Rename - Changes the name of a report
Delete - Removes the report from the list
Select - Runs the highlighted report. You may be prompted to also select or create a query or filter.
SEE ALSO
There are other topics which may give you more ideas about creating reports.