Not all of the following options will be available. See Types of Promos below
Price Altering Options
When setting new selling prices for items, the new price can be set by using one of these options.
| • | Fixed Price - Enter a specific dollar amount for each price level. |
| • | Discount Percentage - Enter a percentage (expressed as 10.00 = 10%) for each price level. |
| • | Price Breaks - Create either 2fer-3fer pricing or quantity pricing. |
| • | Mix & Match - Similar to Price Breaks, but with the ability to add multiple qualifying products which will trigger the special pricing |
Pricing Options Per Group
Items |
can set Fixed Price, Discount, Price Breaks, or Mix & Match of an individual inventory item. |
Category |
can set Discount or Mix & Match with Sub-Category stipulation to further limit how Mix & Match is applied for all inventory in the category which meet this criteria |
Department |
can set Discount or Mix & Match for all inventory in all categories assigned to this department |
Whole Store |
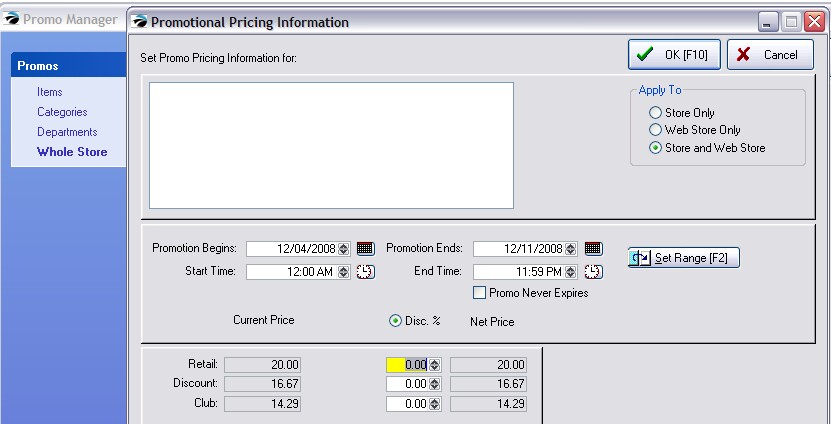
can set Discount only to all inventory of the entire store |
Types of Promos
ITEMS
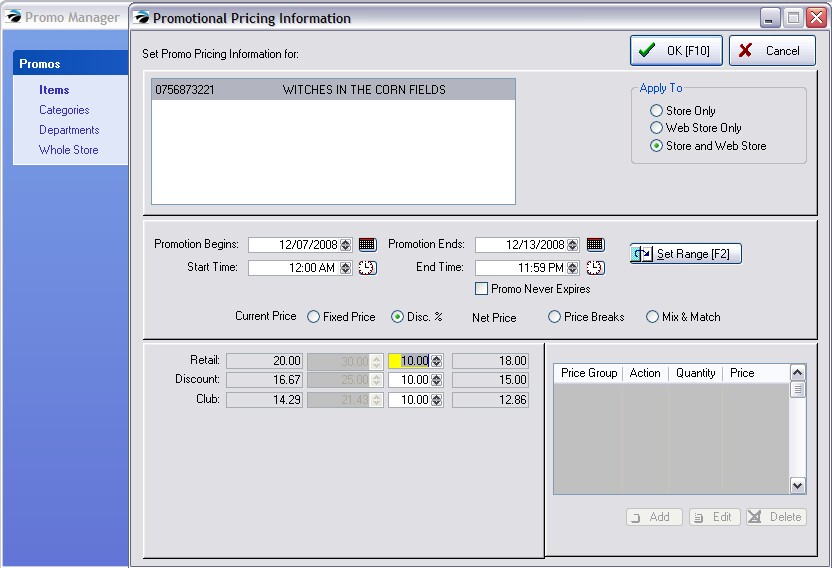
This creates a promo for an individual inventory item. Select the item from the Locate Item screen. Set the Time Period. Choose Fixed Price, Discount %, or Price Breaks. Save your changes by selecting OK [F10].
Activate one of the following options
| • | Fixed Price - enter the exact selling price for each price level |
| • | Discount % - enter a percentage. The true promotional selling price is calculated and appears in the Net Price field to the right. |
| • | Price Breaks - works like regular price breaks, but with an expiration date. Choose Add button and make selections. (see Price Breaks) |
| • | Mix & Match - select a predefined program (see Mix & Match) |
Note: this same procedure can be done directly from the Inventory Center for the highlighted inventory item and by choosing Promo Pricing (see Promo Pricing,)
Note: Templates are not supported under Promo Pricing.
MULTIPLE ITEMS IN LIST
As a time saving feature, if you tag multiple items at the same time, you will have a CLONE button which can replicate the promo on the first item to all items below it.
1) Open Promo Manager and select Items on the far left
2) Choose the Add button at the far right
3) On the Locate Item screen, tag multiple products to be included in the Promo
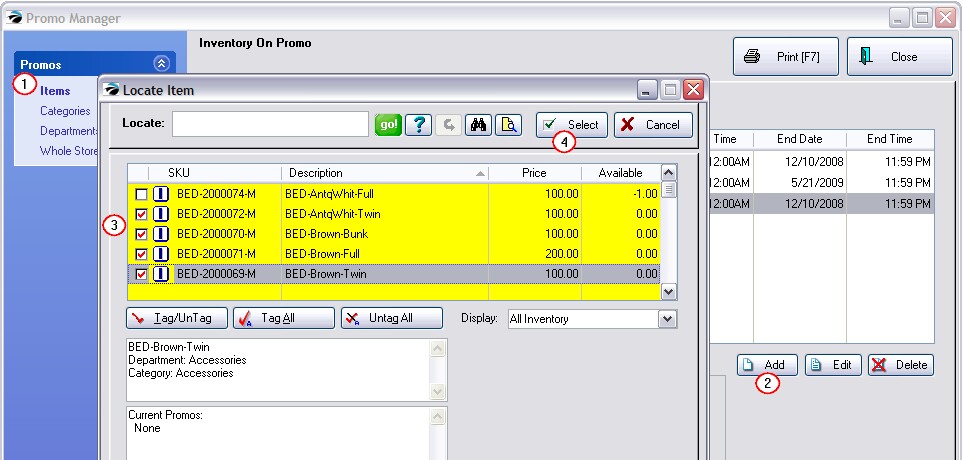
4) Then choose Select. This will open the Promotional Pricing Information screen with all the tagged items listed.
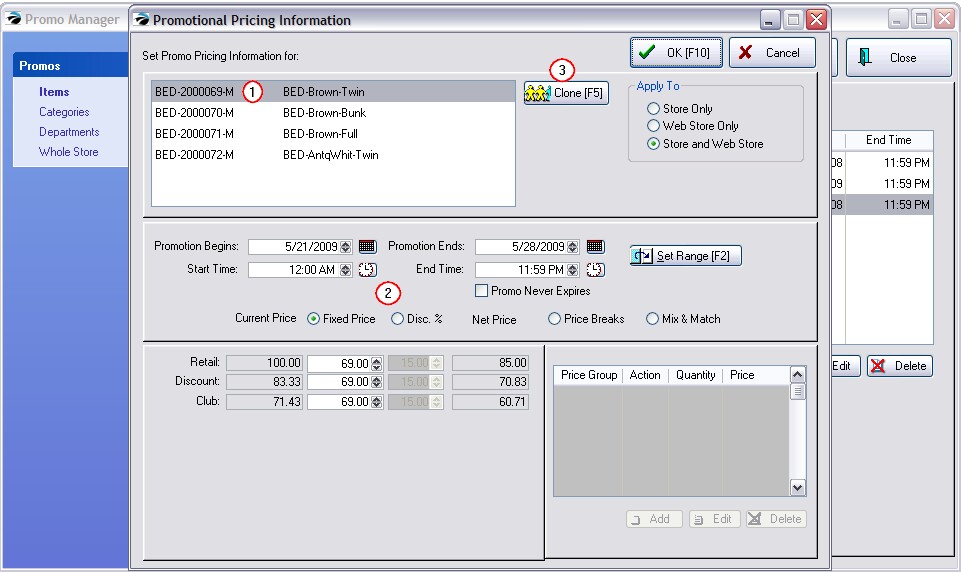
1) Highlight the top most item in the list.
2) Set all the promotion information for that item; set date range, set pricing type and prices,
3) Choose Clone [F5] button and the settings for the top most item will then be applied to all other items in the list.
Choose OK [F10] when finished.
CATEGORIES
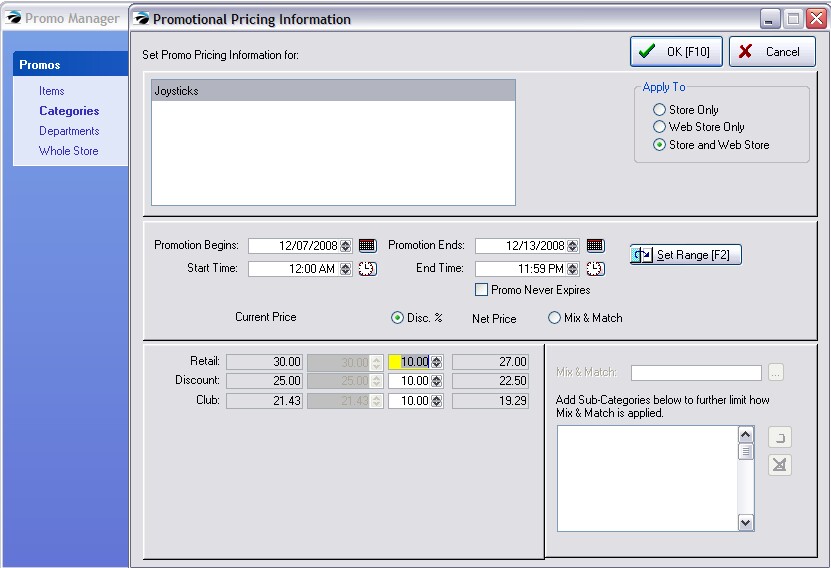
This creates a promo for all (or selective) items in a specific category. At the Category Listing screen, highlight and select the desired category. Set the Time Period. Choose
| • | Discount % - enter a discount as 10.00 for 10% |
Note: this will not display the new price of the item under the Disc. Price field, because this is a category option and prices vary for each inventory item in the category However, the selling price of each items sold during this time period will be discounted
| • | Mix & Match - identify items which are on promo. By default all items in the category are included. But use of sub-categories will impact which items are on promo. |
DEPARTMENTS
Sale prices applicable to all items in all categories of a department are set here.
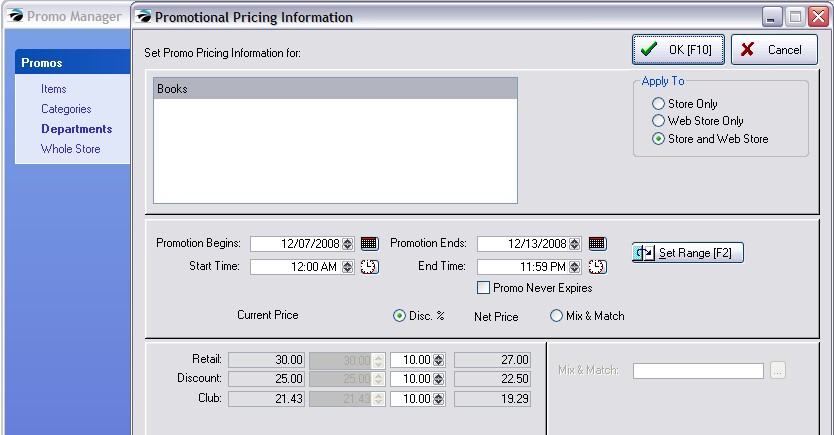
WHOLE STORE
This is a rarely used feature, but you could set every inventory item in the entire store on sale.
*****************
(Optional) Choose Add again to create additional date ranges and prices. This allows you to create sale events far in the future.
Print [F7] - (When "Items" is selected) Prints "Promo Pricing Report" which lists all items on promo by SKU, Description, Start Date and Time, and End Date and Time.
Adding Multiple Items and Cloning Settings
1) Choose the Add button.
2) At the Locate Item screen, tag multiple items which will all have the same promo dates and pricing. Then choose Select.
3) The tagged items will all appear in the upper left box.
4) Highlight one of the items and set the Date Range and Discount% (fixed prices are never duplicated to multiple items)
5) Choose the Clone [F5] button. "This routine will clone the following settings to all items in your list.
| • | The Start Date and Time |
| • | The End Date and Time |
| • | The Discount Percentage (It will NOT clone fixed prices or price breaks.) |
You will be prompted to proceed or not. If you choose yes, the settings of the one highlighted item will be applied to all items in the list.
Customer Return of Promo Priced Items
If a customer chooses to return an item, it is best to link to the original invoice so that the prorated value of the item will be refunded rather than the normal selling price.
Promo Pricing Vs. Mix & Match (see Mix & Match Manager)
| • | Promo Pricing of an item has an automatic cutoff date whereas Mix & Match requires you to delete the group. |
| • | Promo Pricing can be created in advance of a sale with a starting and ending date. Mix & Match takes effect as soon as it is defined. |
| • | Promo Pricing is not contingent on the number of items purchased. For example, with Promo Pricing one could purchase just one robe at $37.50 whereas Mix & Match requires purchase of two, the designated quantity, before the price is in effect. |
| • | Mix & Match takes precedence over Promo Pricing. If an inventory item is assigned to both Mix & Match and Promo Pricing, the price set for Mix & Match will be used on an invoice. |