|
Vendor Terms |
  
|
| Show/Hide Hidden Text |
|
Vendor Terms |
|
| Show/Hide Hidden Text |
Each vendor has a preferred method of payment and a set number of days until payment is due. Create as many as needed for your different vendors. If they are generic enough, you can use them over and over for different vendors.
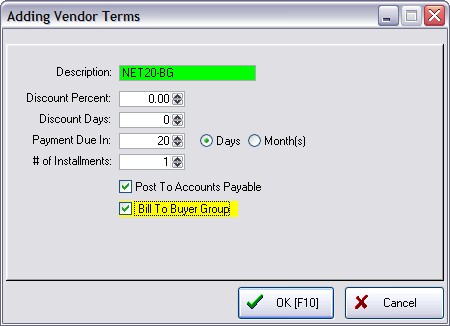
Description - Type in the Description and press Enter. Typical descriptions include NET10, NET20, COD, CASH, etc. However, if this is a very unique setting you may want to use the vendor ID.
Discount Percent - If the vendor offers a discount for prompt payment, enter the discount percentage.
Discount Days - Enter the deadline number of days until discounts will no longer be valid with the vendor.
Payment Due In - Enter the number of days (check Days box) or months (check Months box) until payment is due. For COD enter 0 (zero) Days. For NET20 enter 20 Days.
# of Installments - Pay vendor invoice charges in monthly increments. POSitive will calculate the monthly amounts due. Generally, you should enter the number 1. This is for the number of payments you can make to pay the current charges.
For example, if your vendor's terms allow you to pay off in 3 installments, you enter a 3 here and POSitive automatically divides the amount due and creates 3 AP's for you, 1 every 20 days as in this example.
In other words, a purchase of $600.00 of product on a PO from the vendor will break payment entries into 3 payments of $200.00 each
Post To Accounts Payable
Check the field "Post To Accounts Payable". When you receive inventory through a POSitive purchase order, the amount due will go into the Accounts Payable list for tracking and processing.
TIP: Check mark "Post To Accounts Payable" even if the term is COD or CASH. Reason would dictate that you would not want to post these prepaid items to AP to be paid again. However, this is a method used by some as a check and balance to assure that the accounting department has the information it needs.
Bill To Buyer Group
This switch will automatically force monies owed for purchase orders to be paid to the buyer group to which the vendor is assigned.
TIP: Create two Vendor Terms, one with and one without "Bill To Buyer Group" activated. When creating a purchase order for a vendor, you can switch to the appropriate vendor term depending upon who should receive payment. In the above example the description NET20-BG is a visual reminder that the Buyer Group will be paid directly. Add another term NET20 which would not have the option activated and payments will always be paid to the shipper.
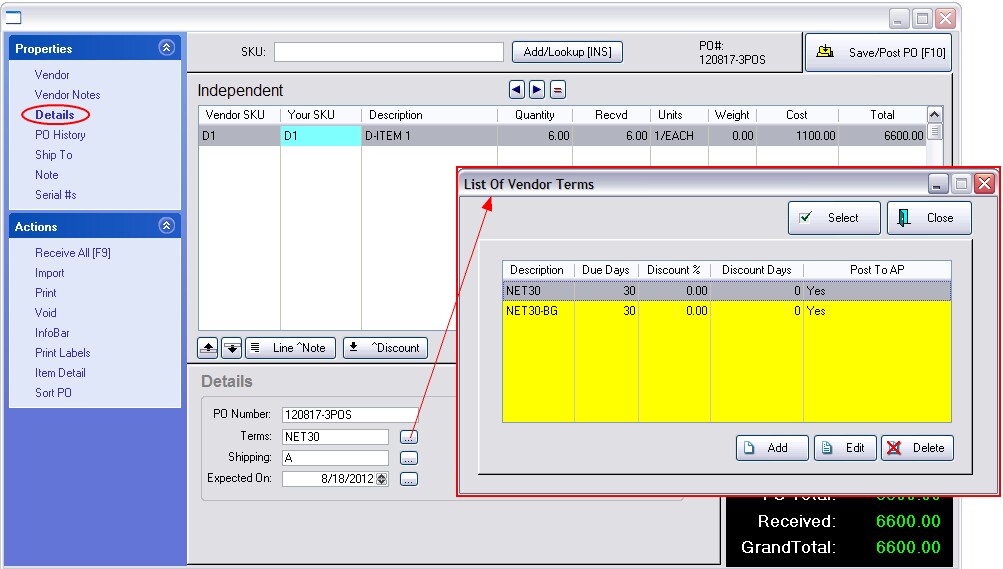
When adding a Vendor to the Vendor Center you must choose a Vendor Term. Select one which will be the norm for the vendor. When in a purchase order, the Vendor Terms can be switched if needed. More
Go to Details of the Purchase Order. Choose the lookup button and select the correct Vendor Term for this specific purchase order.
|