Kit Assembly |
  
|
Kit Assembly |
|
Once the template is defined, you can commit the stock to an assembled item. The assembled items can be serialized and renamed if the template header was set to use serial numbers.
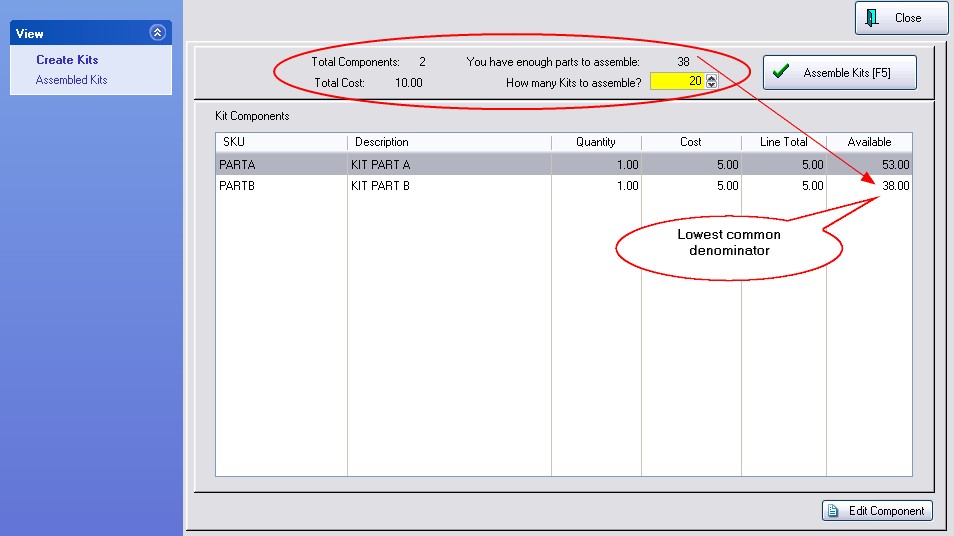
Open the Inventory Center, highlight the template, and on the Summary view, just above the listing of template components is an Assemble button. Select Assemble.
1) Enter the number of Kits to be assembled. A calculated number is based upon how much inventory you have on hand and uses the lowest common denominator.
2) Choose Assemble Kits [F5]
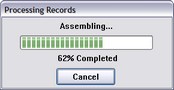
Depending upon the number of kits being assembled you will see a progress bar.
At the top of this screen you can review statistics.
Total Components - number of inventory items required for this kit.
Total Cost - the calculated cost of all items for the kit.
You Have Enough Parts To Assemble: (Number)
Choose the Assembled Kits view at far left.
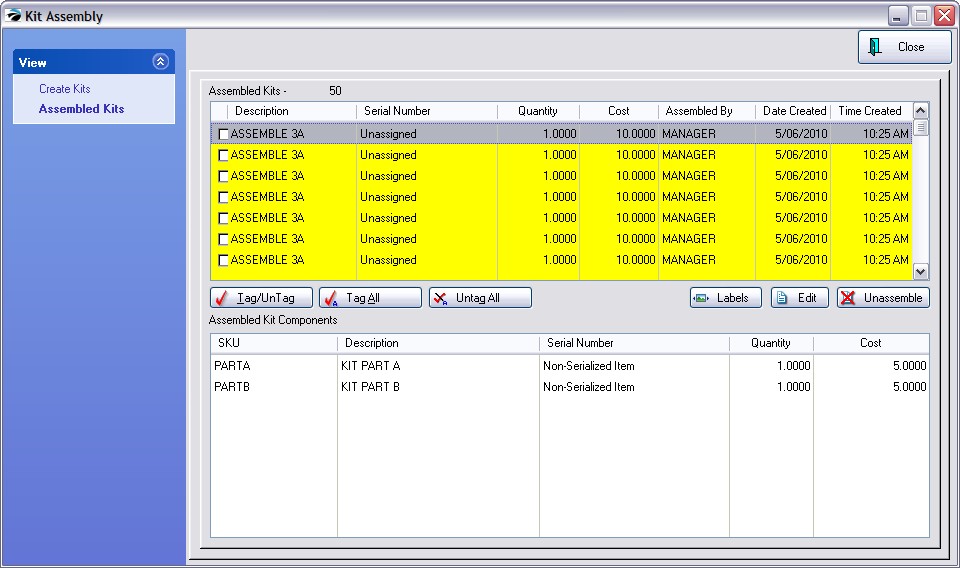
The top section lists each available kit: each Description, Quantity, Cost, and by whom assembled and when assembled.
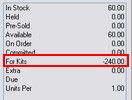
The bottom section shows the components of the highlighted kit. The stock count of these individual components which are part of the kits is reflected in the FOR KITS field on the Stock Management view of an inventory item.
Labels - Print labels for the kits.
Edit - Opens the Assembly Editor (see below)
Unassemble - choose to delete the kit and place the components back into stock.
Tag/Untag - for selecting multiple kits.
see Assembly Editor