Assemblies |
  
|
Assemblies |
|
A template is a listing of components. An Assembly is a constructed item consisting of the components in the template.
When working with Assemblies, there are two primary steps: Creating the template and building the assemblies.
1) Follow the steps for creating a template (see Templates)
2) Activate Assembly Options
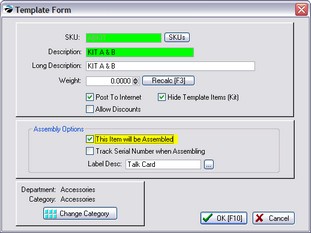
Assembly Options
POSitive can "weld" the items as one unit. In this way, you will not be able to sell the kit without all items being in stock.
This Item Will Be Assembled - (REQUIRED) if this is checked, then you will be reserving stock for the assembled kits and you must then assemble the kits.
Track Serial Number When Assembling - (OPTIONAL) Will assign a serial number to the kit.
Label Desc - (OPTIONAL) select the label to be printed for the assembly
3) Proceed with adding inventory to the template as described under Templates.
4) Save your changes
Highlight the hidden template and choose the Summary view. In the bottom right, just above the display of the template contents is a button called Assemble.
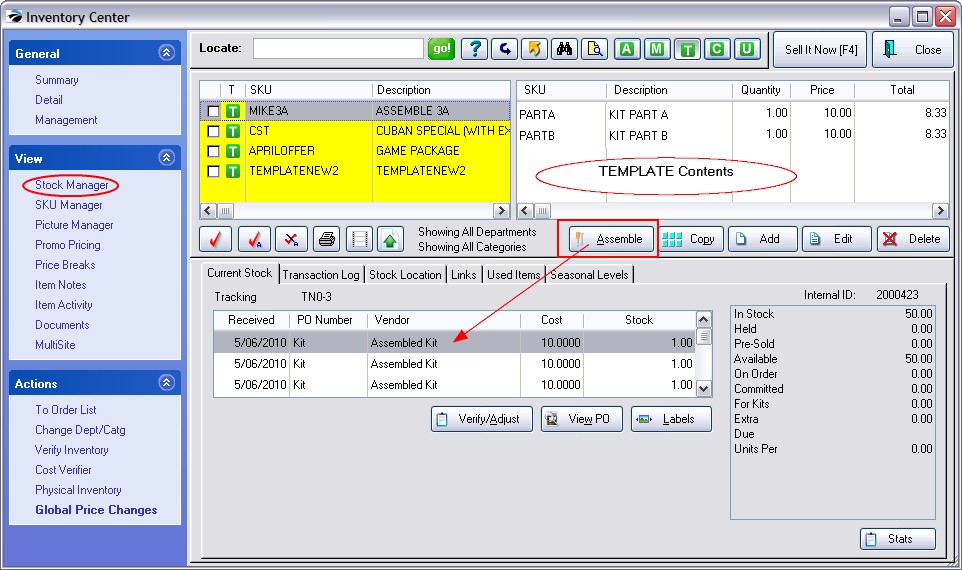
Choosing the Assemble button opens the Kit Assembly screen. (see Kit Assembly)
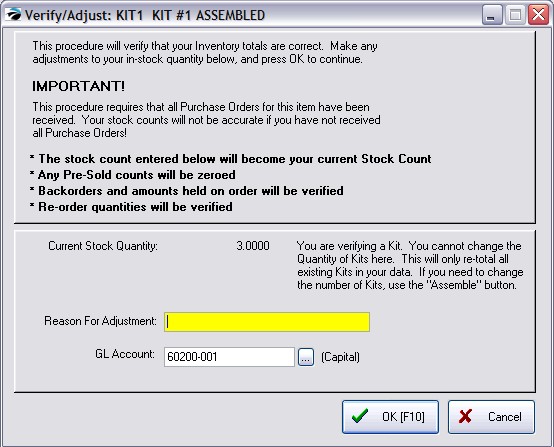
Verify/Adjust - This is non-functional for this type of inventory item. You cannot change the Quantity of Kits here. This will only re-total all existing Kits in your data. If you need to change the number of Kits, use the "Assemble" button, and select Assembled Kits to remove a kit.