Locate Vendor |
  
|
Locate Vendor |
|
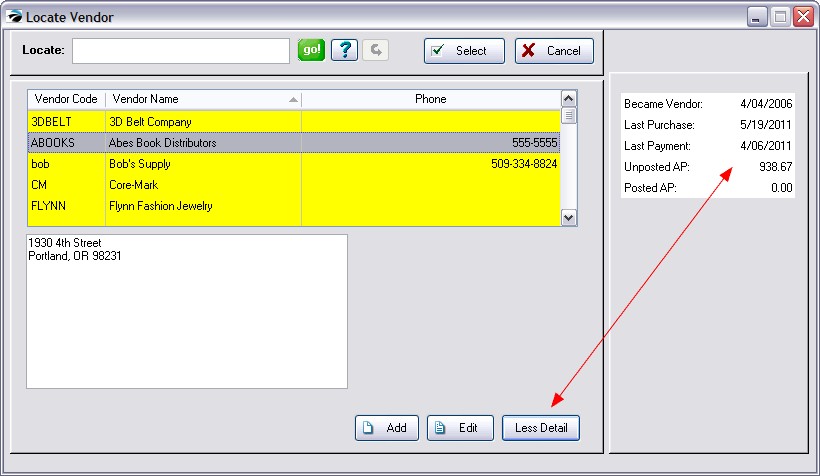
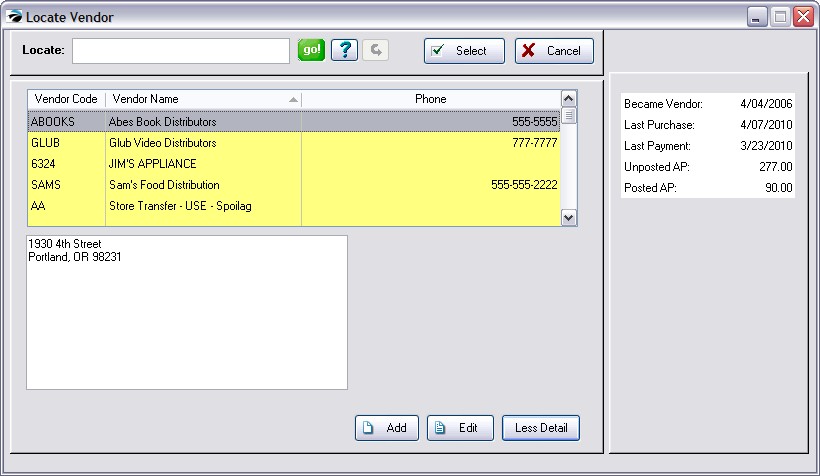
When starting a purchase order or attempting to assign a vendor to an inventory item, you will be prompted to select a vendor from this Locate Vendor screen.
Highlight the vendor and choose Select. You may add a new vendor if necessary.
SELECTION OPTIONS |
|
Locate |
1) Select the column to be sorted by clicking on the column title. •Press Enter - will find the first item beginning with the search characters •Press CTRL-Enter - will find all items with the search characters somewhere in the field. |
|
This starts the search for the information in the "Locate" field. Instead of clicking on "Go!" you can save time by just pressing Enter or Control-Enter after entering something in the Locate field. |
|
Select from an unlimited number of saved queries or filters which you can create and modify as needed. Contact POSitive support for more information. |
|
Restores the list to show all records. |
Select |
Accept the highlighted vendor |
Cancel |
Halt the process |
Add - create a new vendor record
Edit - edit the record of the highlighted vendor
Choosing the "More Detail" button reveals more information about the vendor, particularly about total Accounts Payable, unposted and posted.