Inventory Import Special Options |
  
|
Inventory Import Special Options |
|
The following information is not usually needed, but the Inventory Importer can accommodate several importing scenarios.
If you are importing a landed cost, ie., a cost which has freight and other charges calculated into it, then POSitive also needs a true cost value to make appropriate calculations between them. The cost will be saved in the Last Cost field and landed cost will be saved in the Unit Cost field. The calculation of selling prices will be based on Last Cost and not on Landed Cost.
You will be using the following fields in the importer...
Price Brk Price** These are for importing QUANTITY PRICE BREAKS (Over not Sell) See below.
Price Brk Price Levl** Leave this BLANK if you want to select All Price Levels
Price Brk Quantity**
POSitive uses two methods of Price Breaks
--- "Sell" means 2 for $3.00, 3 for $4.00, etc.
--- "Over" means if you buy more than a designated quantity, then a new each price will be applied. For example: 2 for 1.25 each, more than 5 for .85 each
NOTE: This importing link is designed to only import "Over" type Quantity Breaks. There is no provision for importing "Sell" type Price Breaks.
Your import file needs to have a field for
Price Brk Price** = the EACH selling price when the designated quantity is purchased
Price Brk Quantity** = the designated quantity
Price Brk Price Levl** Leave this BLANK if you want to apply this to All Price Levels However, you it will only apply to price level 2 customers, then the import file must have a 2 in the field.
(Optional) MAPPER lets you assign a replacement word for a specific value in a field. For example, your import file may have a Department field that is identified by only a number. If you would prefer that the POSitive use full names instead of numbers, the mapper lets you instruct POSitive to automatically rename the number to a specific name such as Hardware while it does the import.
The general steps are 1) highlight the target field on the right side (eg. Department), 2) choose Mapper, 3) Choose Add 4) Enter the "Old Value" (the information which exists in the import file) and the "New Value" (the information you want POSitive to use. Choose ADD as often as needed for this POSitive field, once per different text in the Old Value field.
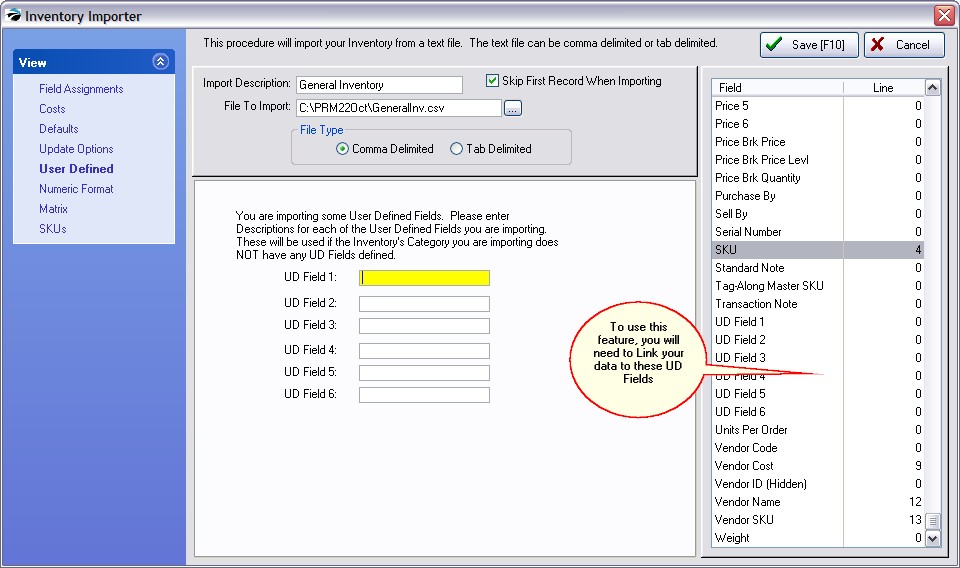
User Defined Fields allow you to import optional information for each inventory item. For example, if you are importing books, you may want to link the author to UDF1, the publisher to UDF2, etc. On this screen you are entering the titles of the fields.