Exporting Customer Data |
  
|
Exporting Customer Data |
|
You may choose to Export select customer data. This is a useful tool for preparing mailing lists and for sharing data with other programs.
Step 1
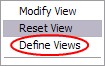
Open the Customer Center and Right-Mouse-Click on a customer record.
Choose Define View
Step 2
Create a New View or modify an existing one.
Step 3
Determine which fields should be displayed. Transfer current fields out of or into the right hand box.
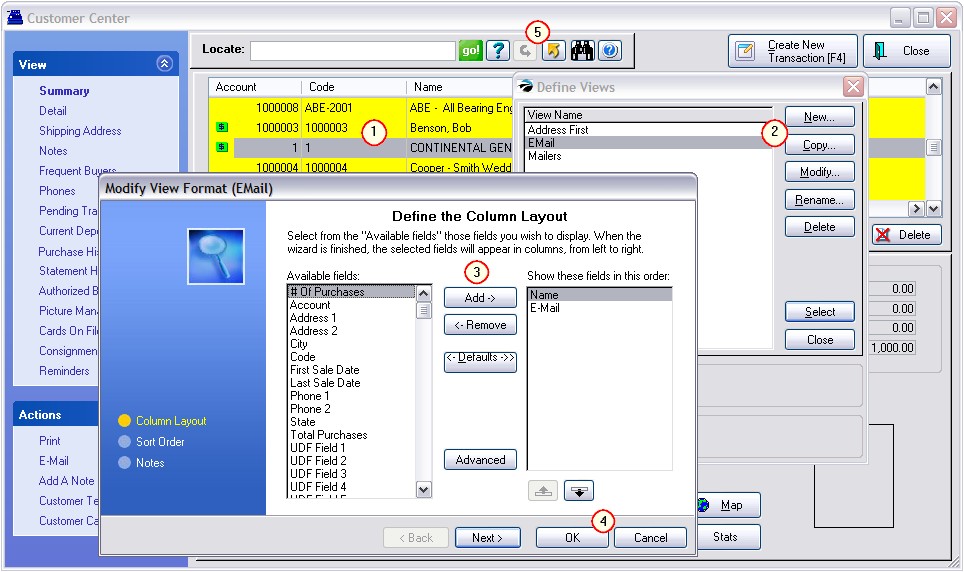
This is a list of customer fields from which you can choose.
# Of Purchases
Account
Address 1
Address 2
Cell Phone
City
Code
Credit Limit
Current Owed
Customer Category
E-Mail
First Name
First Sale Date
Last Name
Last Sale Date
License
Name
Over 30
Over 60
Over 90
Phone 1
Phone 2
Sales ID
State
Terms
Total Purchases
UDF Field 1
UDF Field 2
UDF Field 3
UDF Field 4
UDF Field 5
UDF Field 6
Zip Code
You may use the repositioning buttons to define sequencing and other functions as needed.
Step 4
Choose the OK button to save your definition. On the Define Views screen choose SELECT and the Customer List will be updated.
Step 5 To Export Data
Final Step: To export the listing as now defined, select the Send To button and you can choose your output file and format. (see Send To)
When you have finished you can reset the customer list by repeating Right-Mouse-Click on a customer record.
Then select Reset View. This will restore the default settings.