A Demonstration of Label Printing |
  
|
A Demonstration of Label Printing |
|
In our example you need to have a printer attached to your computer, one that will print on full 8 1/2 x 11 inch sheets of paper. By default, POSitive will assign inventory items to the Standard label, which prints 3 across and 10 down on a standard size sheet of paper. Next, you need to select some inventory items for label printing.
There are several ways of getting labels to print from POSitive but here is an easy way:
First, open the Inventory Center, then highlight an item.
(1) Choose "Add To Label List" which is the icon that looks like three blank labels.
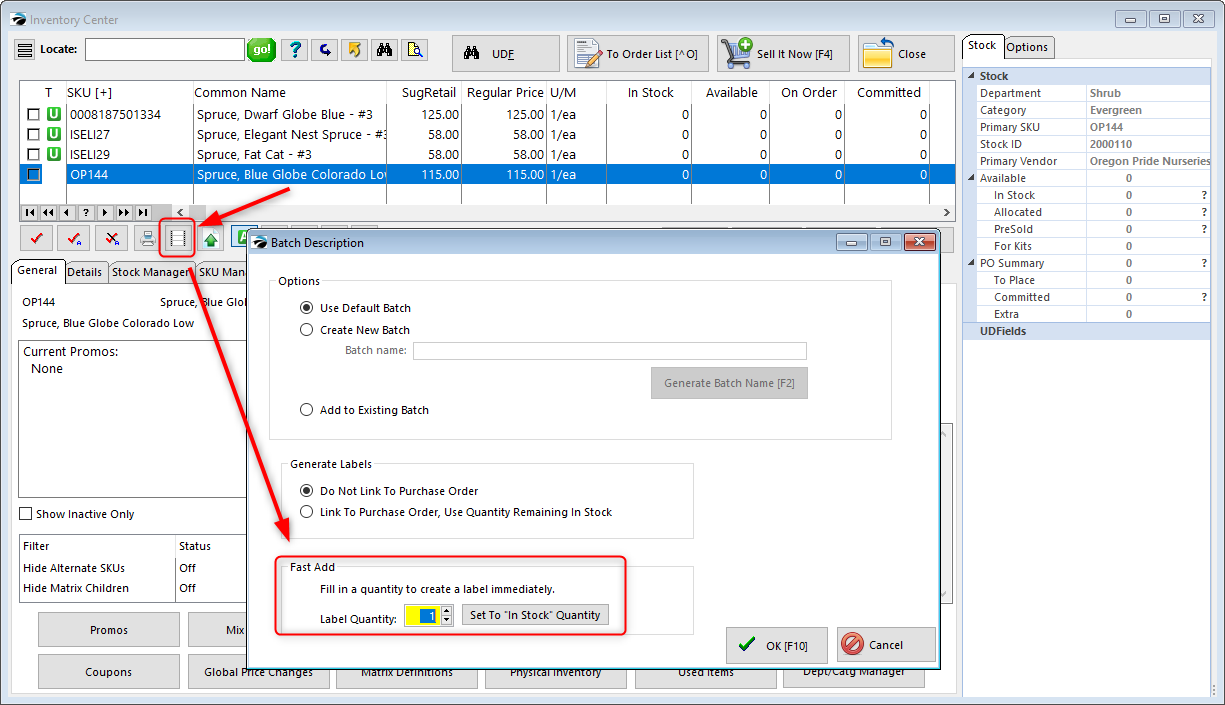
(2) A Batch Description box will open. Unless you actually wish to create a batch, use Fast Add. Enter the number of labels you wish to print, or select "Set To "In Stock" Quantity". Click OK to send to the label list. You can add more items to the list, or start printing now.
Now, you will open the label list and print your labels. Click on Purchasing and click on Print Labels.

Here you’ll see the item(s) you selected, the number of labels to be printed and the label type. You can also Add additional items from this screen, Edit the number of labels to be printed for each item, reassign the Label Type, among other option.
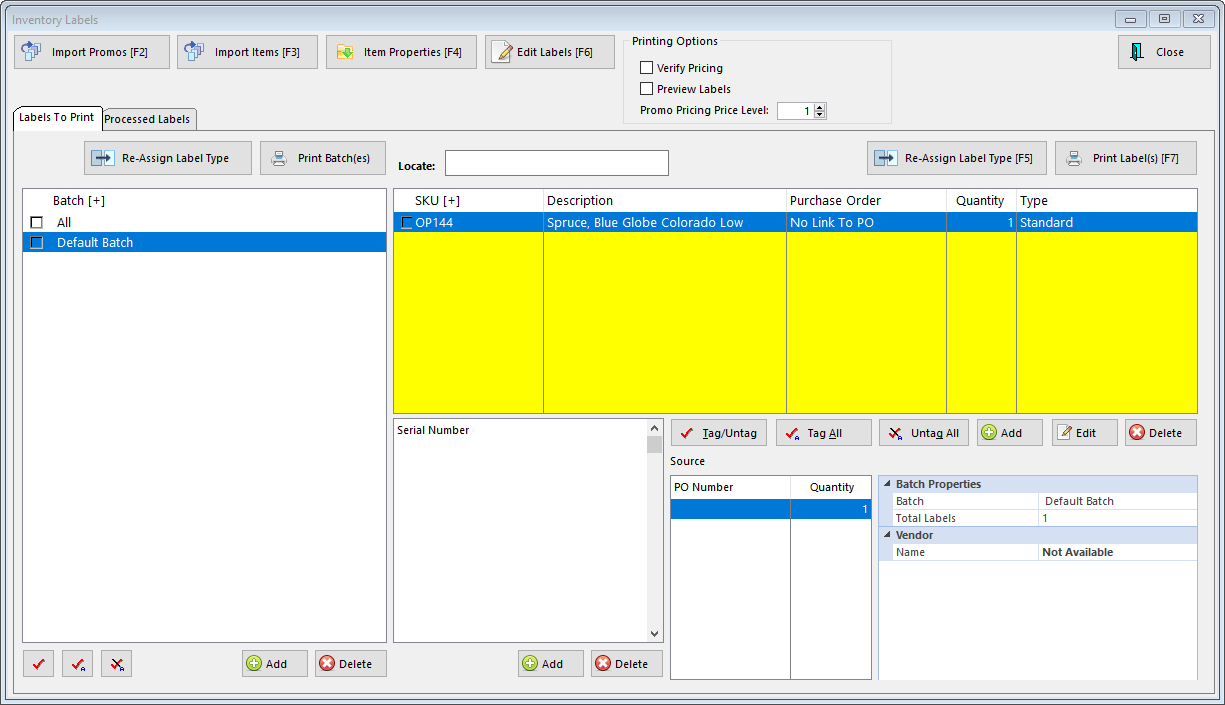
(1) Tag one or several items in the list. (TIP: Click on the Tag All button).
STOP! Is your printer turned on? Do you have some paper in the printer? (Don't worry about using label stock, we are just going to print to plain paper for this demonstration.)
(2) Click on the Print Labels button.
(3) Answer Yes when prompted if you are ready to print Standard labels.
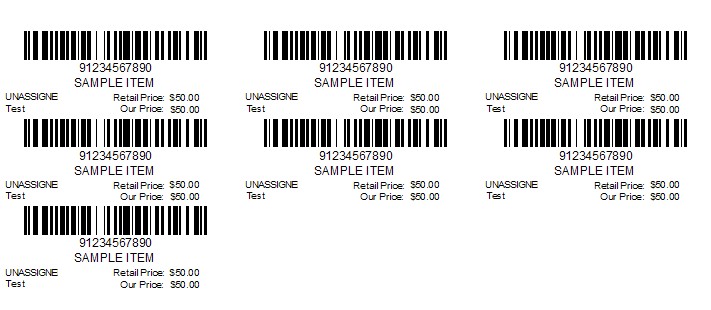
If everything went correctly, you should see labels across the page looking something like these.
If your first attempt wasn't successful, or if the printer malfunctioned, you can reprint labels.
1) At the top of the Inventory Labels window choose the View named Processed Labels.
2) Select the label(s) that need to be reprinted.
3) Click on the "Return Tagged To Active" option.
4) Now click on the Labels To Print view at the top of the window. You are ready to reprint.
So, that's all there is to it. Now you should be able to do the basics of label printing.