| Show/Hide Hidden Text |
POSitive makes it easy for you to set up your own company. The New Company Wizard prompts you through several critical setup screens. Remember that anything you select can be changed very easily later.
Some Things You Will Need To Know
SQL Server, name and password
A Data Password
Your company name, address, etc.
Starting numbers for invoices and orders and Price Level Descriptions
Number of workstations (network seats), main printer type
Local tax rate
How To Create A New Company
Note: New companies MUST be created on the same computer where your SQL Server is installed. More Info
The initial installation of POSitive requires direct access to the SQL Server. After your company is created, then workstations can be configured to use the SQL Server data and subsequent "new companies" such as a training data base can be created from any workstation with access to the POSitive folder. |
1) Start POSitive running.
2) At the Choose Company dialog box, click on the Create New Company button. Read what is on the screen and follow the prompts.
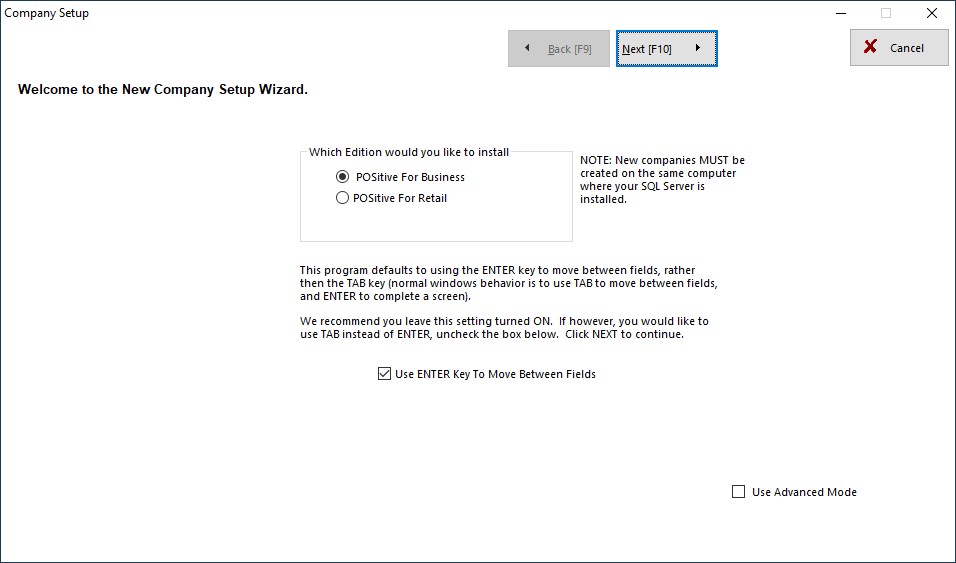
Company Setup Wizard - Introduction
| • | Enter a DATA PASSWORD. This password (one word only) is required to continue. It is used for encryption of sensitive data. Do not choose a password which will be obvious to employees, yet do not make it too difficult to remember. You may need this password in the future if you have to reinstall your POSitive program from scratch. Click on OK. |
| • | Choose the Edition |
| • | Select "Use ENTER Key To Move Between Fields" (Recommended) |
| • | Create Database |
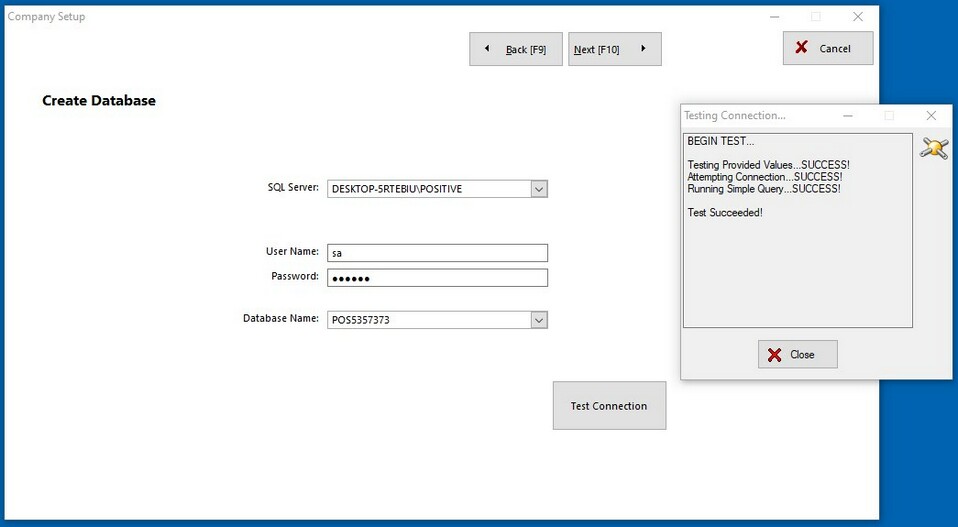
SQL Server - the name of your SQL server
User Name - the user name you use to log in to your SQL server, typically "sa" (system administrator)
Password - the password associated with your user name
Database Name - typically your company name (this should always be a unique name). Note: POSitive will automatically create a name, which can be changed.
Test Connection - Click to confirm your database credentials are correct.
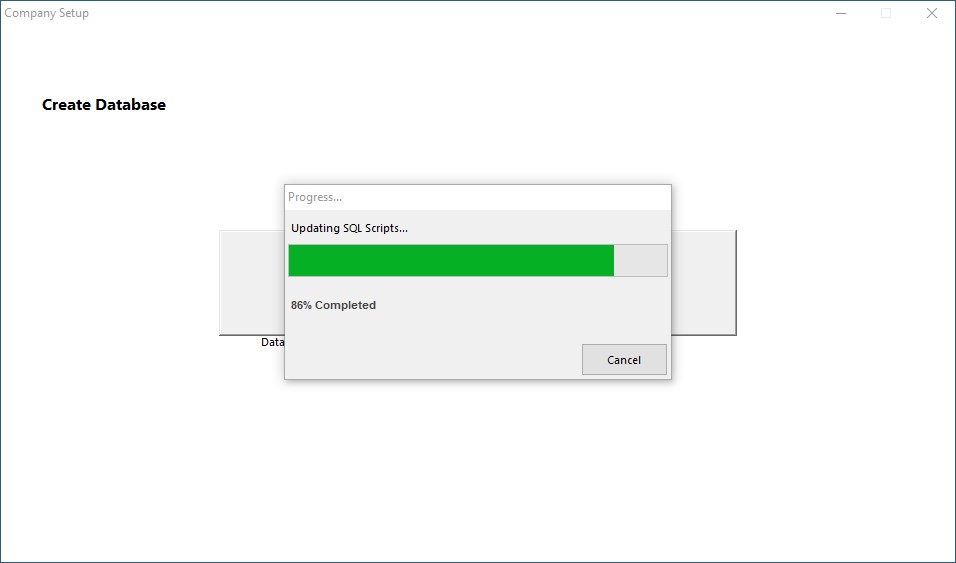
| • | Creating Database Tables. Please wait while appropriate data tables are created. |
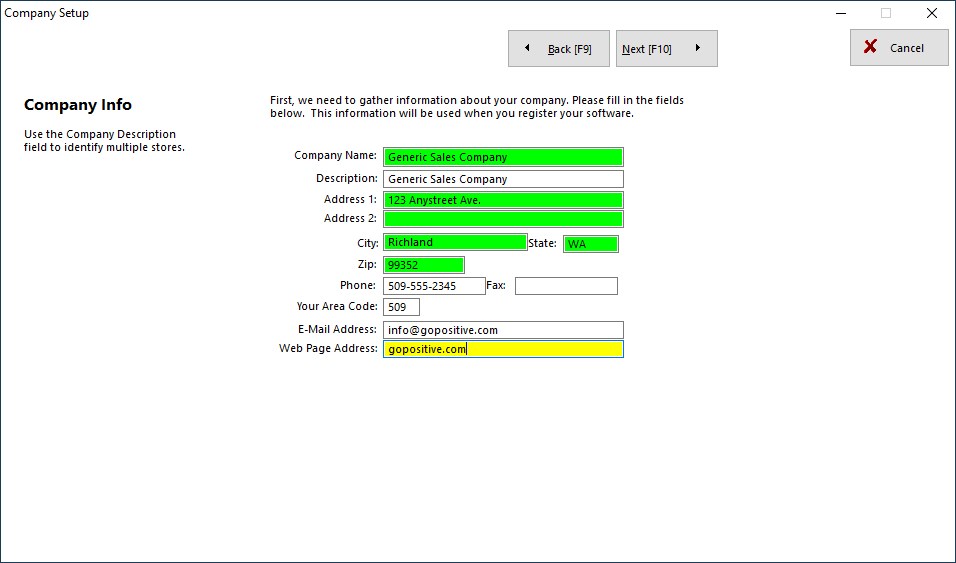
Company Setup Wizard - Company Info
Enter your company information. Description is only used for the Choose Company screen and automatically uses the company name. You may change it if you wish.
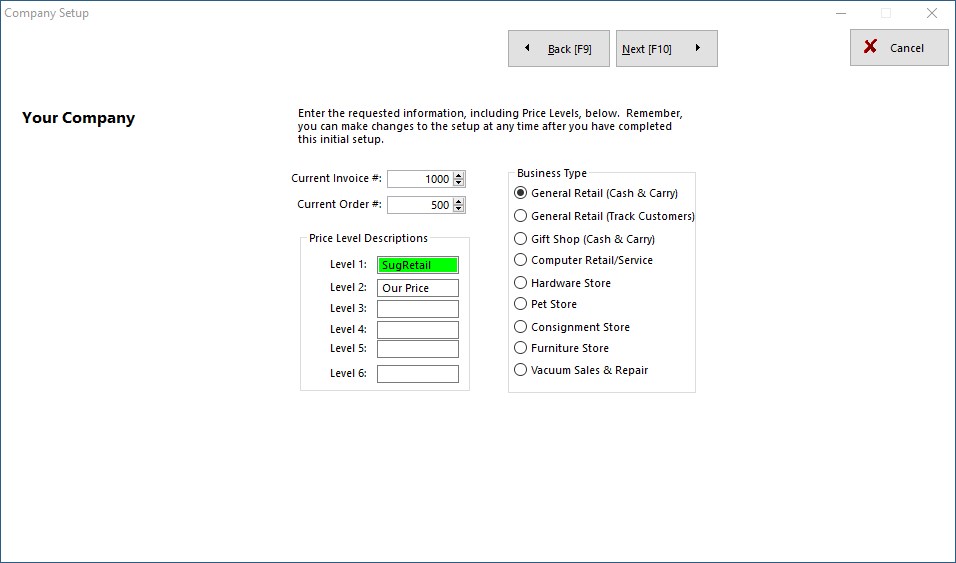
Company Setup Wizard - Company Info - Business Type
Note: During the next few sections you may simply click Next to accept the default settings and change them later.
Select a Business Type.
Enter starting numbers for Invoices and Orders.
Change or add names of Price Levels 1-6
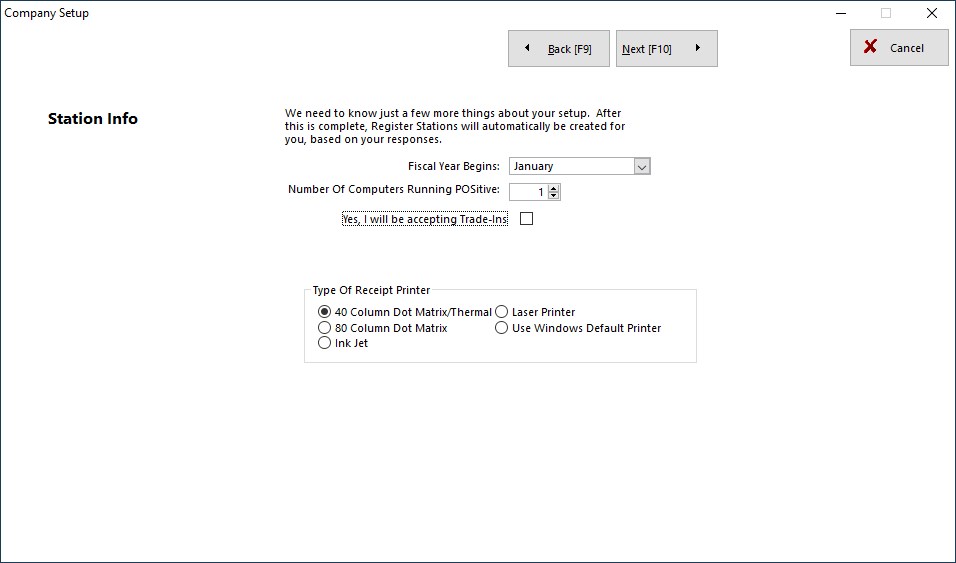
Company Setup Wizard - Station Info
Complete some hardware setups. Enter the number of computers which will be using POSitive.
Activate options for Trade-Ins and E-Commerce as needed.
Select your main type of invoice printer from the list of types. (Note: you will have additional options for printer selection later.)
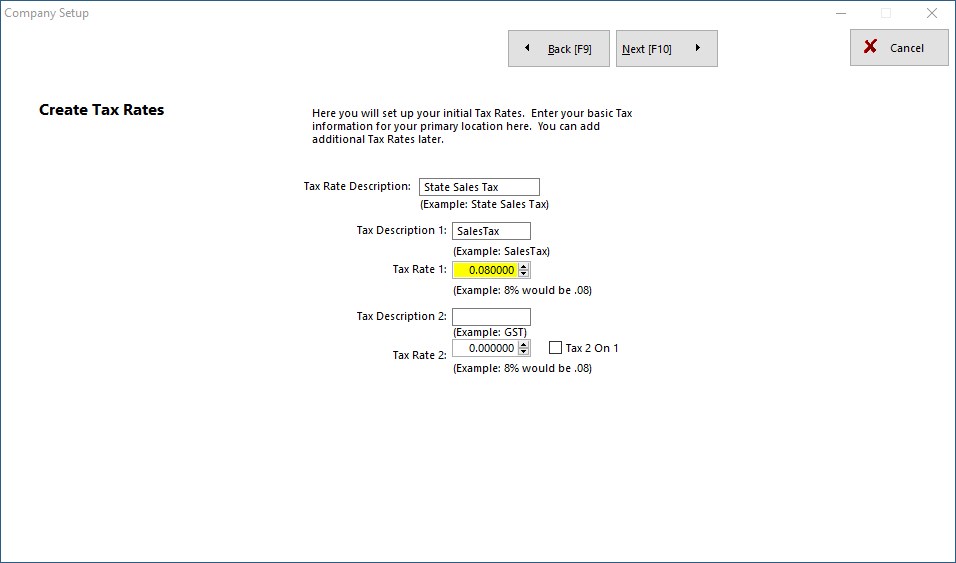
Company Setup Wizard - Create Tax Rates
Define your Basic Tax Rate. (Additional information about tax setup will be given later.)
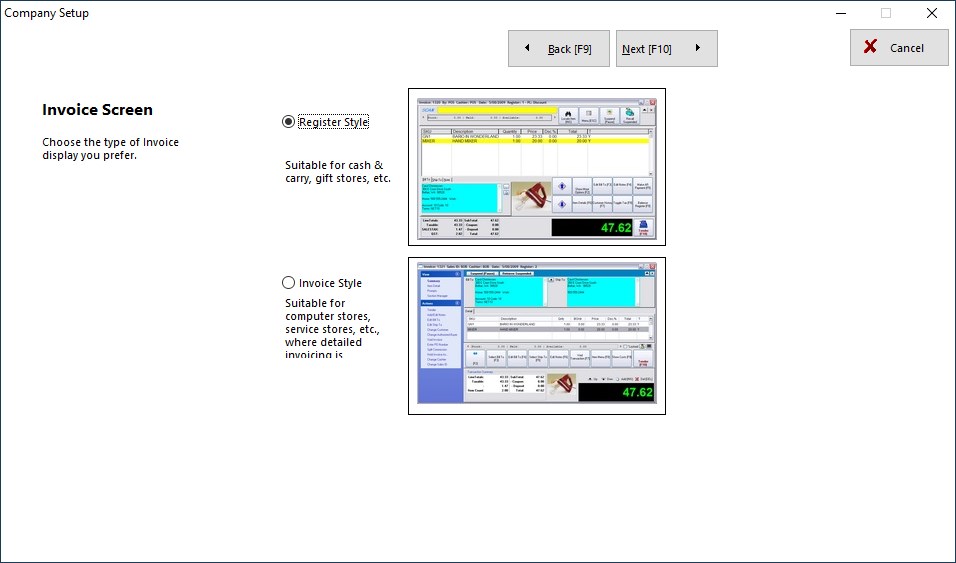
Company Setup Wizard - Invoice Screen
Choose an invoice screen style.
Company Setup Wizard - Finalize Setup
If you want to make any corrections, choose No, then Back [F9]. Otherwise, Yes.
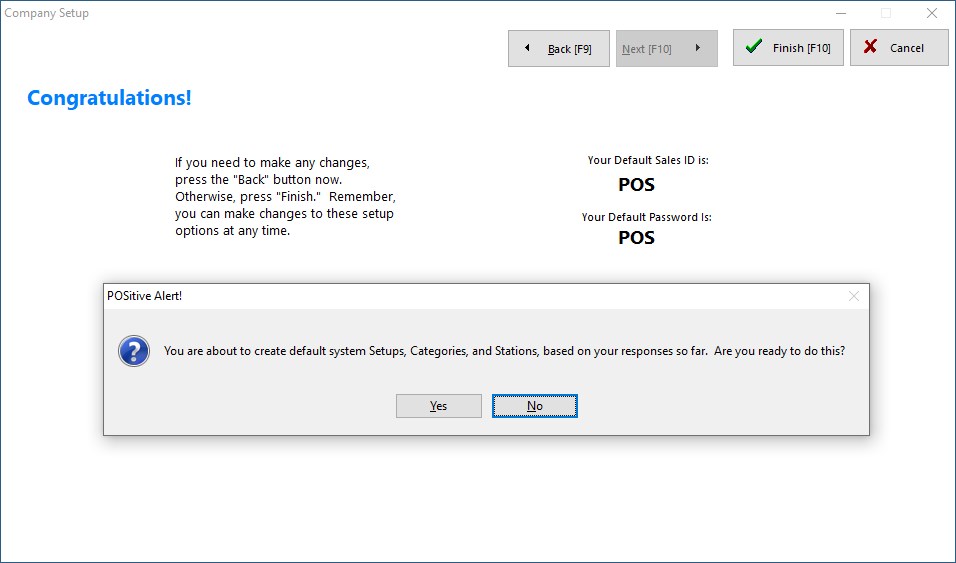
Done! Click Here to Continue.
When prompted click on the Done button.
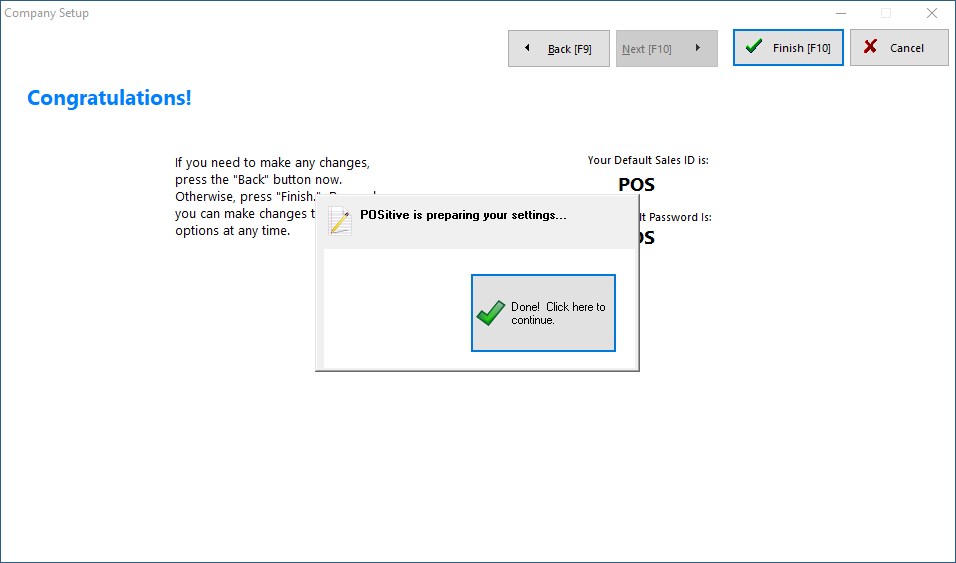
Select Finish [F10] and the POSitive installer will automatically shut down.
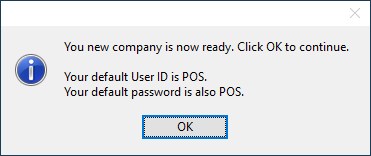
Run POSitive again and your new Company will be in the list. You will be using POS and POS as your Sales ID and Password until you begin to add employees.
"Choose Station" - If prompted, be sure to select a station before clicking on OK. There will be only one station number initially. You will need to create enough station numbers for the number of computers which will be running POSitive Retail Manager.
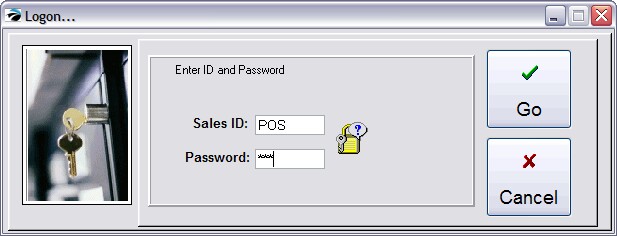
Log on "Enter Sales ID and Password"
- Use POS and POS for now. You can change this later.
Additional Prompts
Respond to any additional prompts on updates and other information.
Where To Begin
The New Company Setup Window lists links to major setup features of POSitive. It is highly recommended that you review each one.
Go to Help: and select New Company Setup
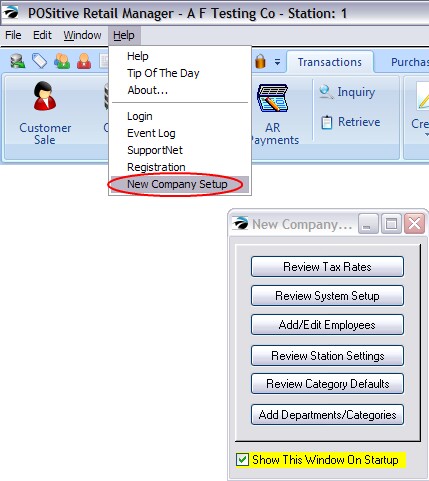
(A) At this time, make sure the "Show This Window On Startup" is activated. You will be using this tool until no longer needed.
(B) Your company is now setup. If you are still being prompted that you are in Demo Mode, you have not yet successfully registered POSitive. Review Help: Registration or consult with your POSitive dealer.
Next Step: New Company Setup